Chapter 2: Project Management Basics
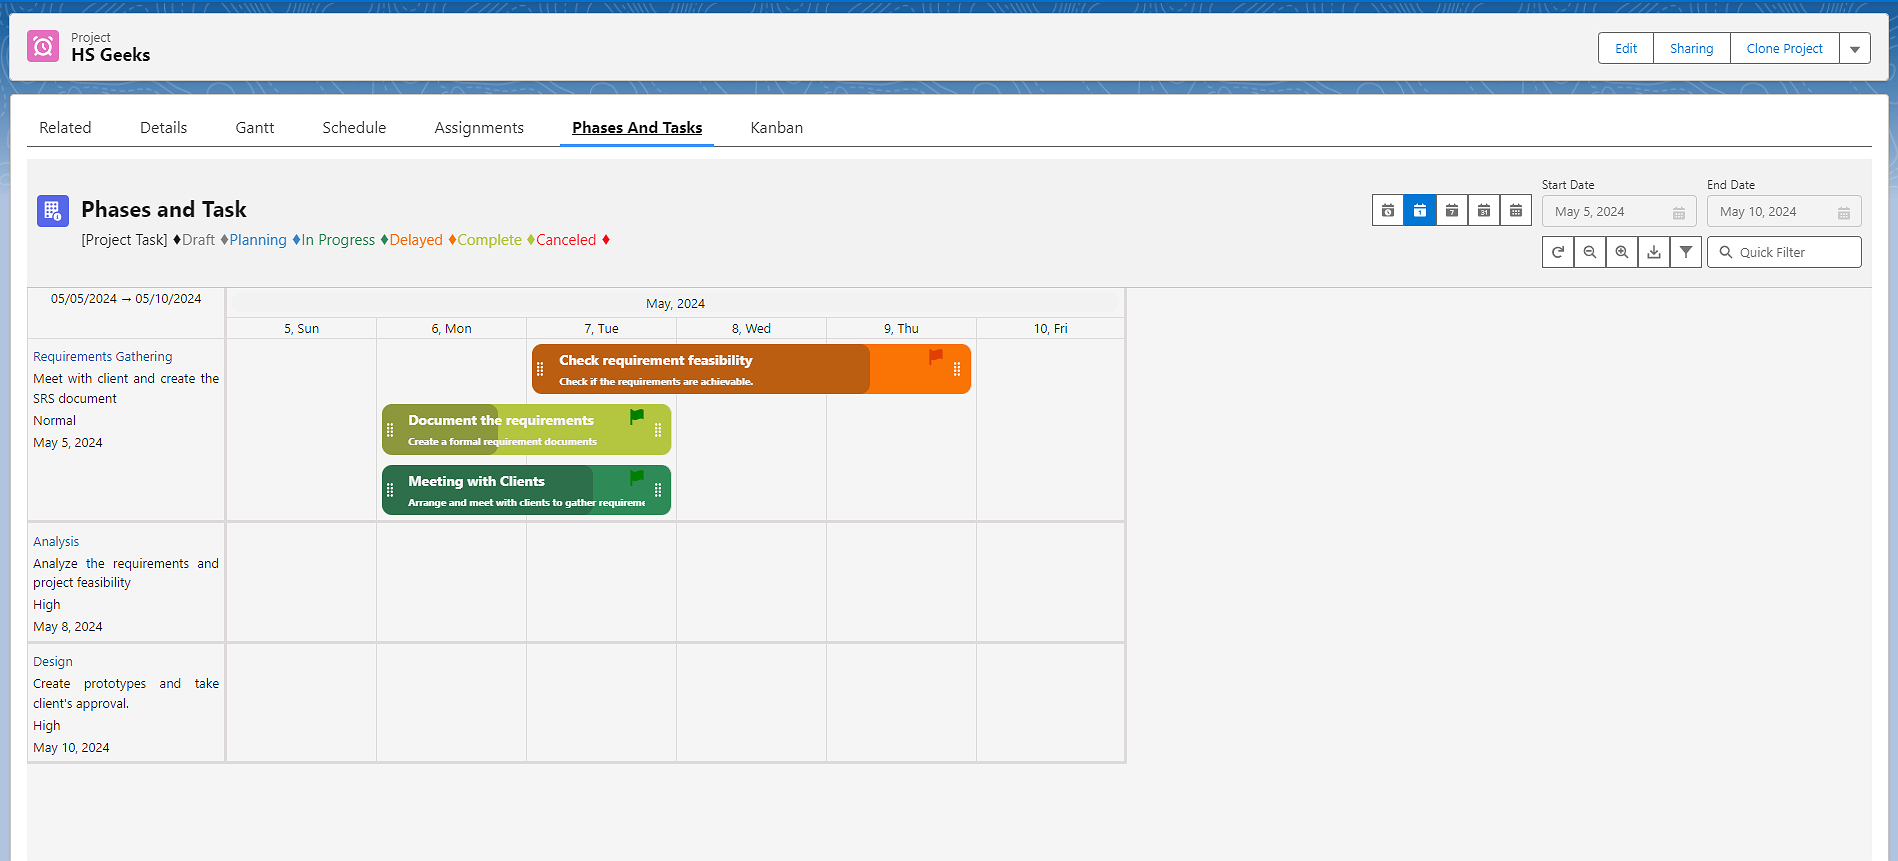
After creating a project and project phases, you can break them down into multiple smaller tasks and assign each task to a different team member for increased development velocity. Task Management is super easy Native Project as it automatically adds tasks to the Gantt, Kanban board, and the scheduler.
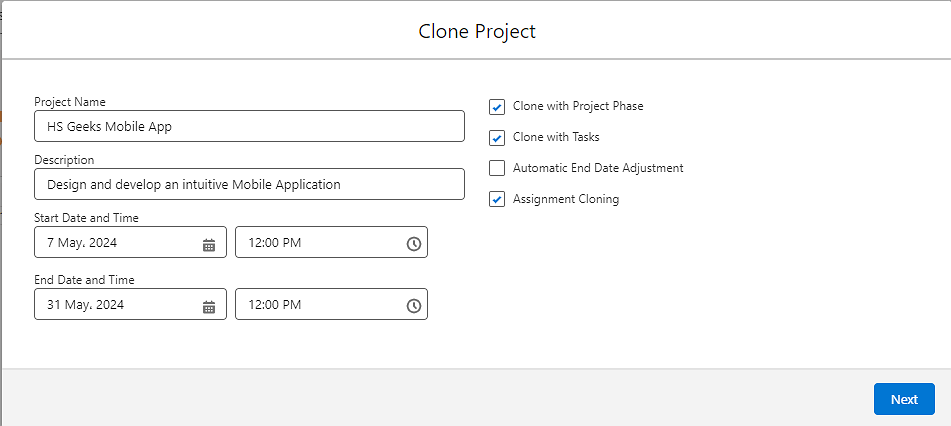
Creating and Assigning Tasks:
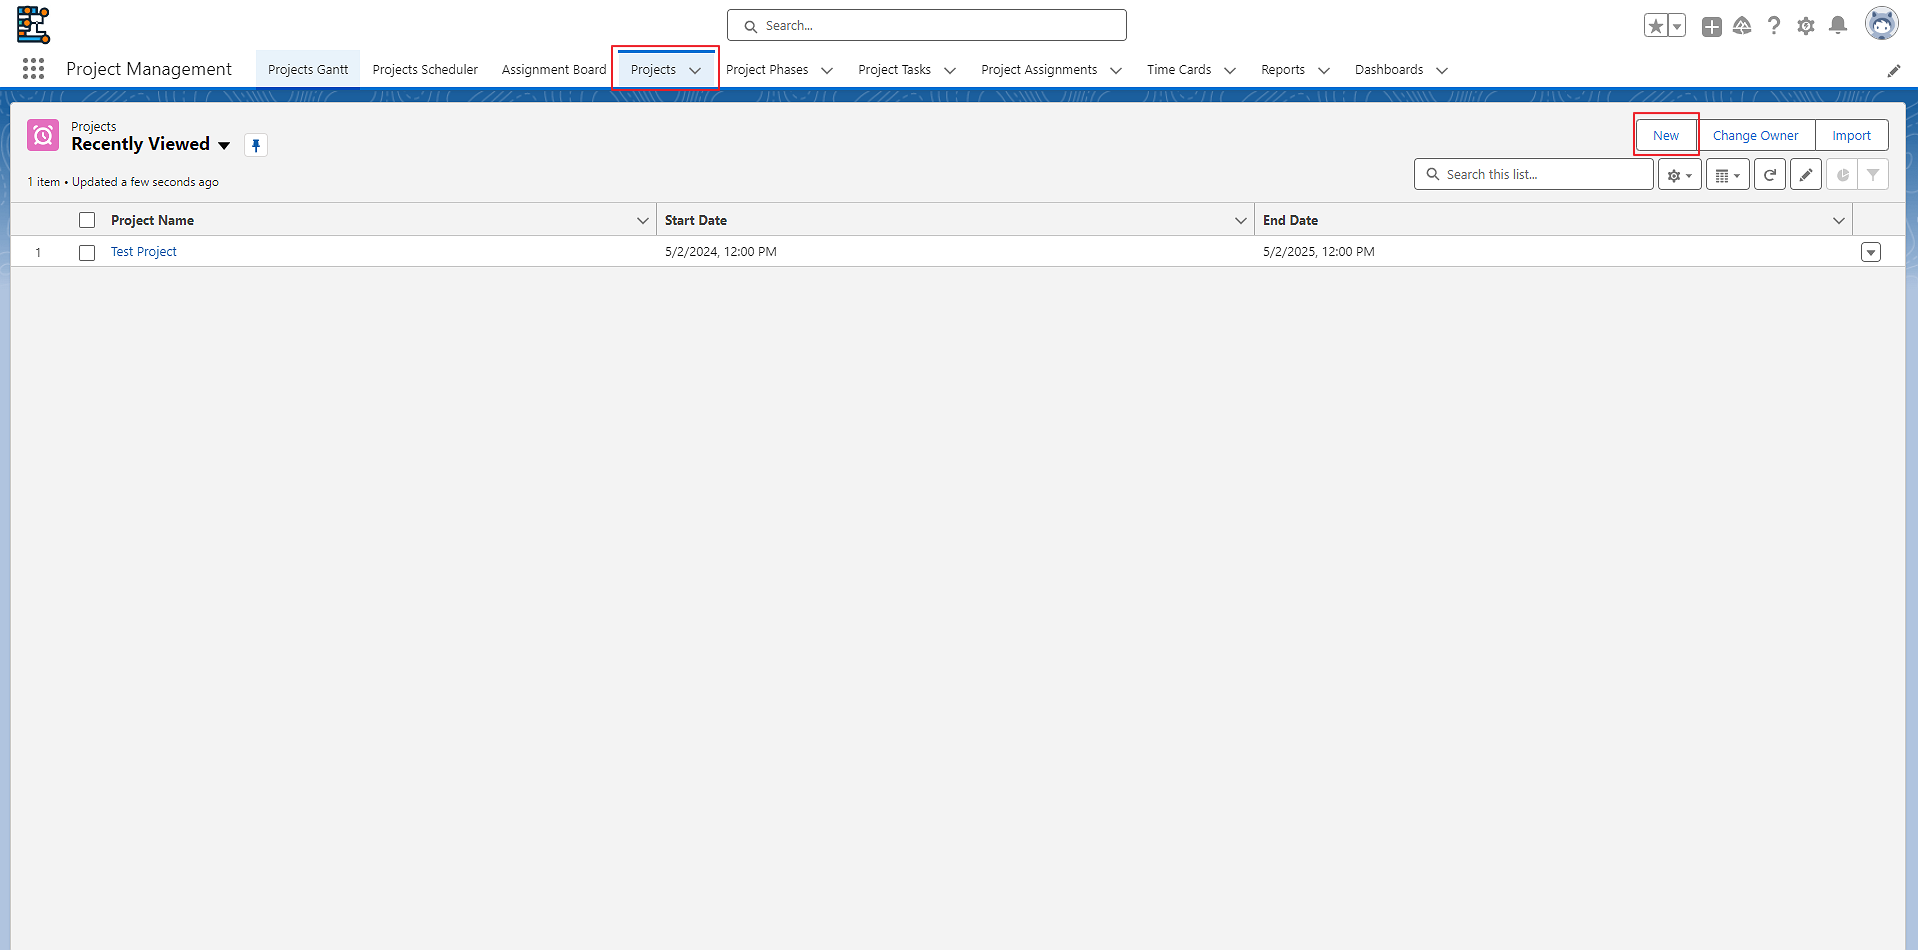
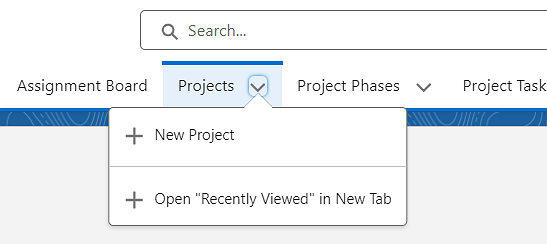
To create a task, go to Project Tasks and click New.

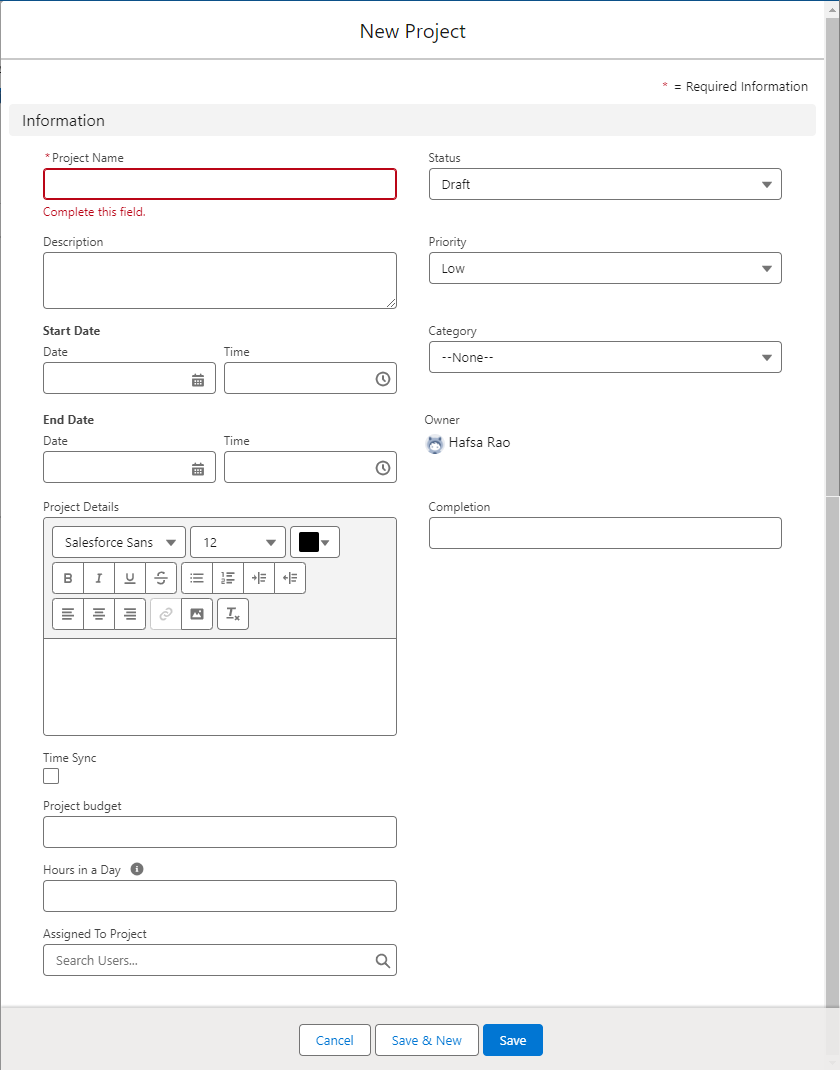
Fill in the required data in the fields and Save.
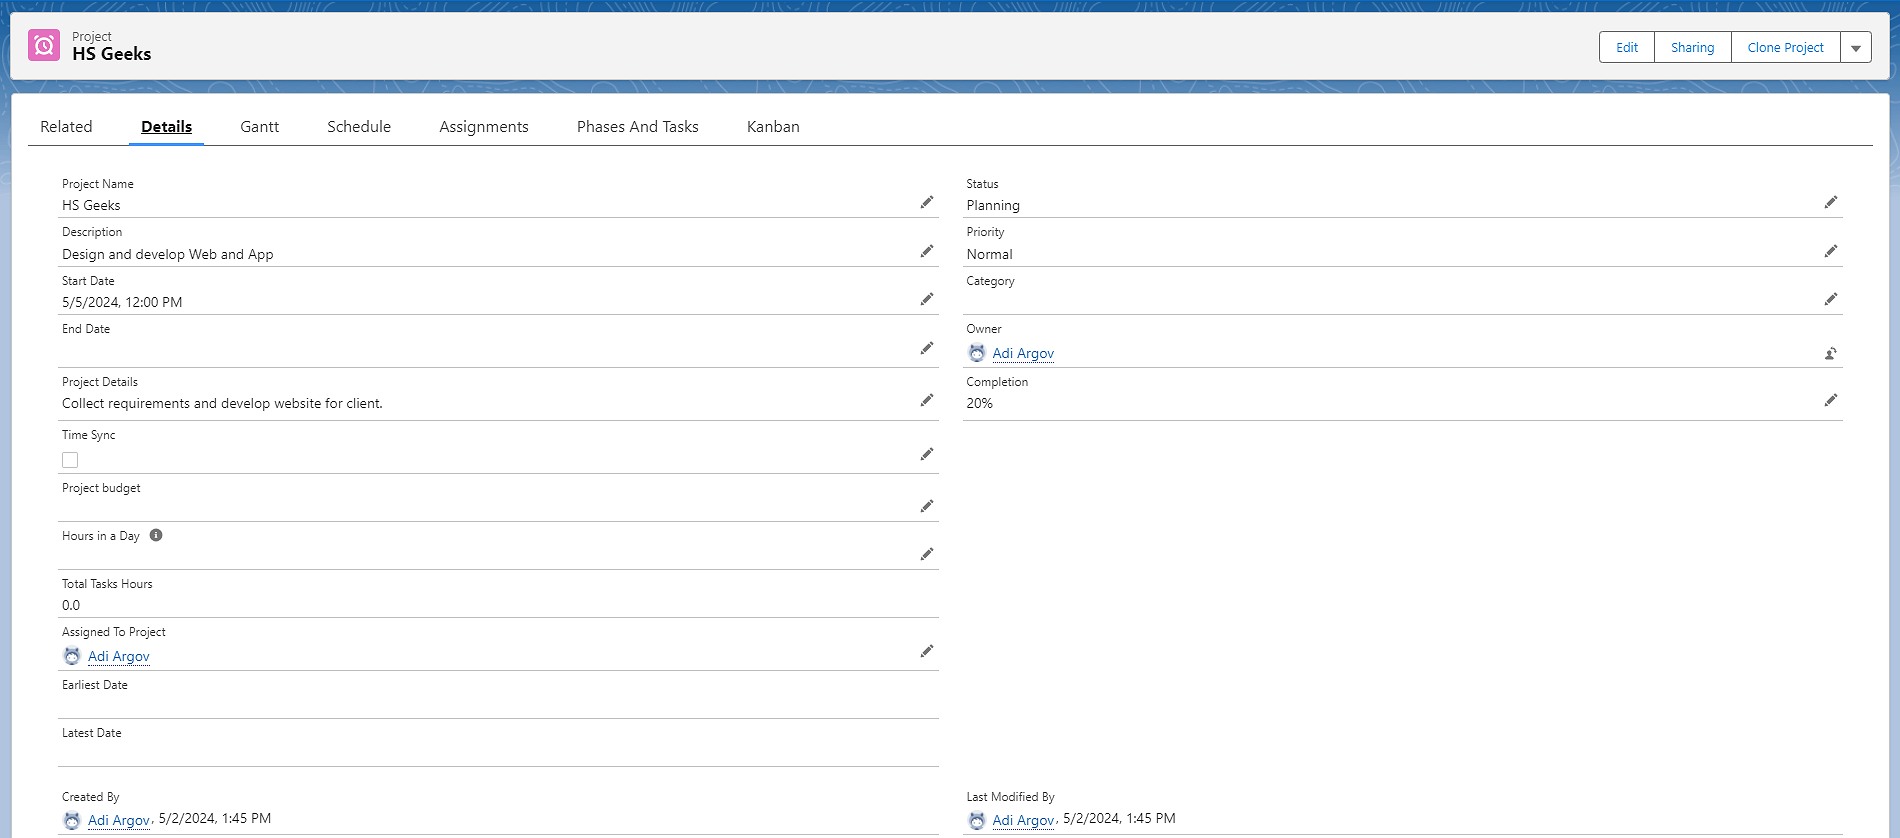
- Project Task Name: Enter the name of the task.
- Description: Describe the task briefly.
- Priority: Set the task priority to Low, Normal, or High.
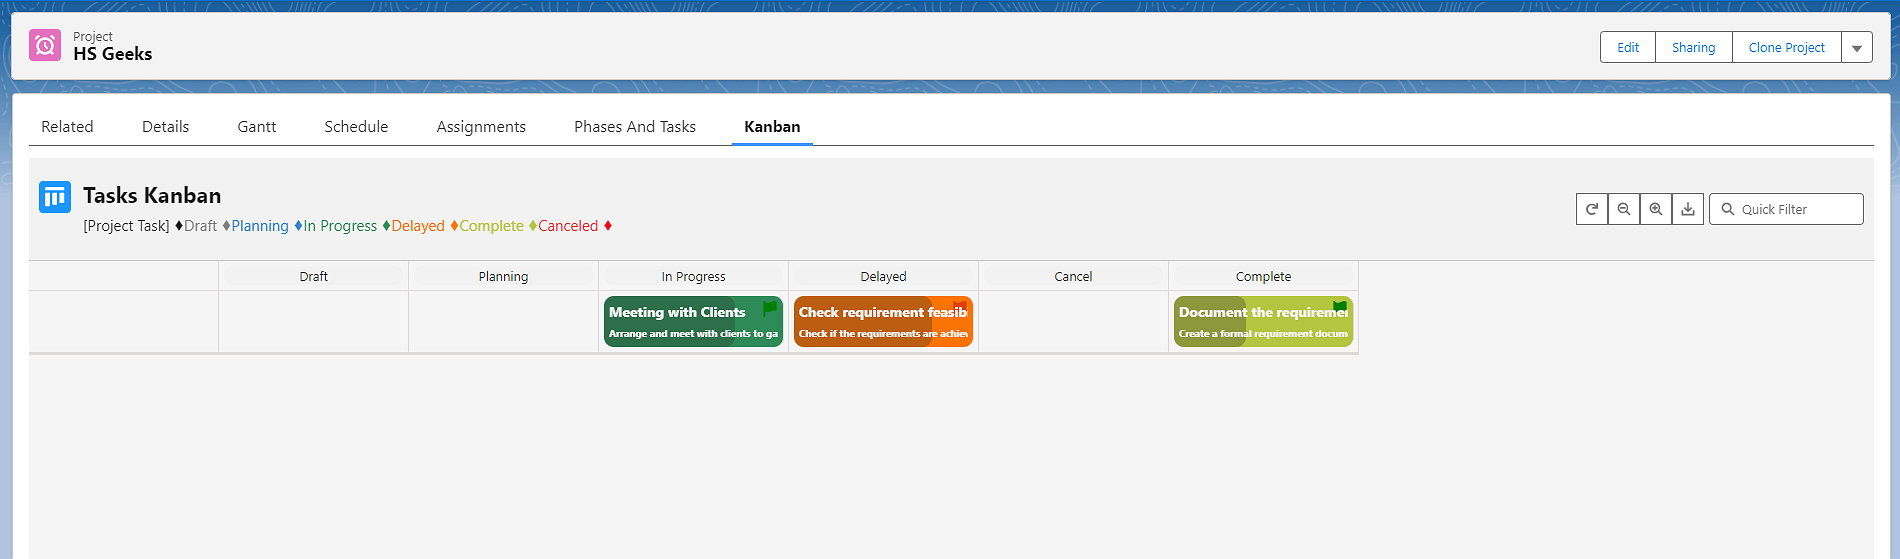
- Status: Set the task status from Draft, Planning, In-Progress, Delayed, Cancel, or Complete.
- Completion: Enter the completion percentage.
- Start Date: Specify the date and time the task must be initiated.
- End Date: Specify the date and time until the task is completed.
- Task Budget: Specify the cost of the task.
- Assigned To Task: Add a team member to assign the task.
- Project Phase: Select the phase to which the task belongs.
- Time Sync: Automatically update timings if any changes are made to other relevant tasks.
- Calculated Duration: The duration for which the task will continue. It is also calculated automatically.
Project Task Interface:
When you open a task, you see the following tabs:
Let's explore them briefly:
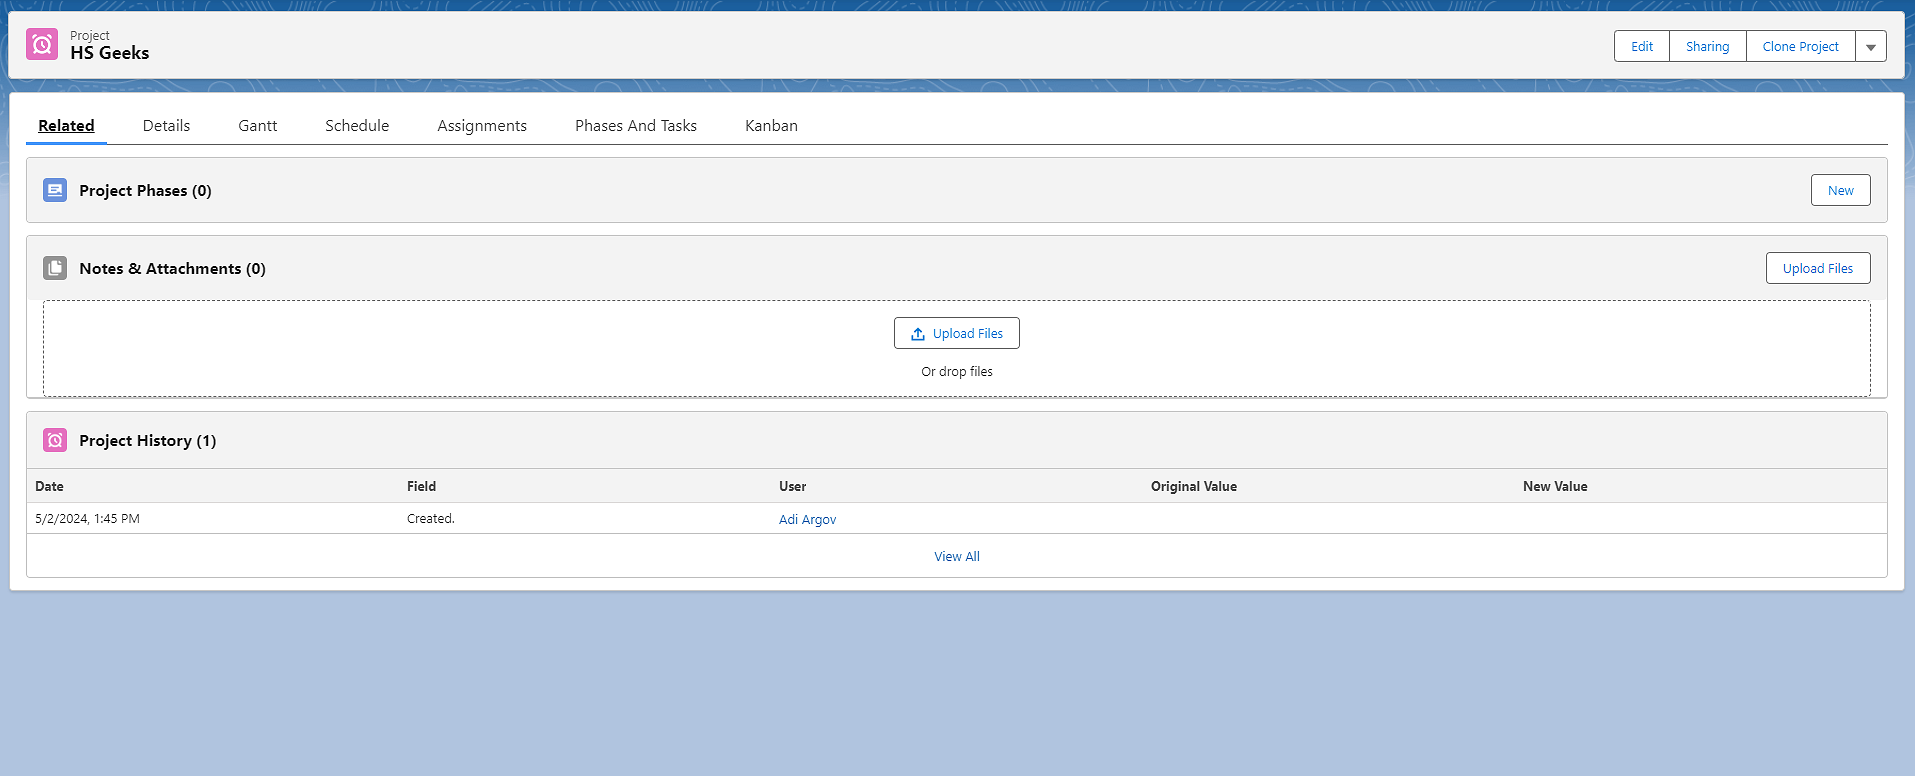
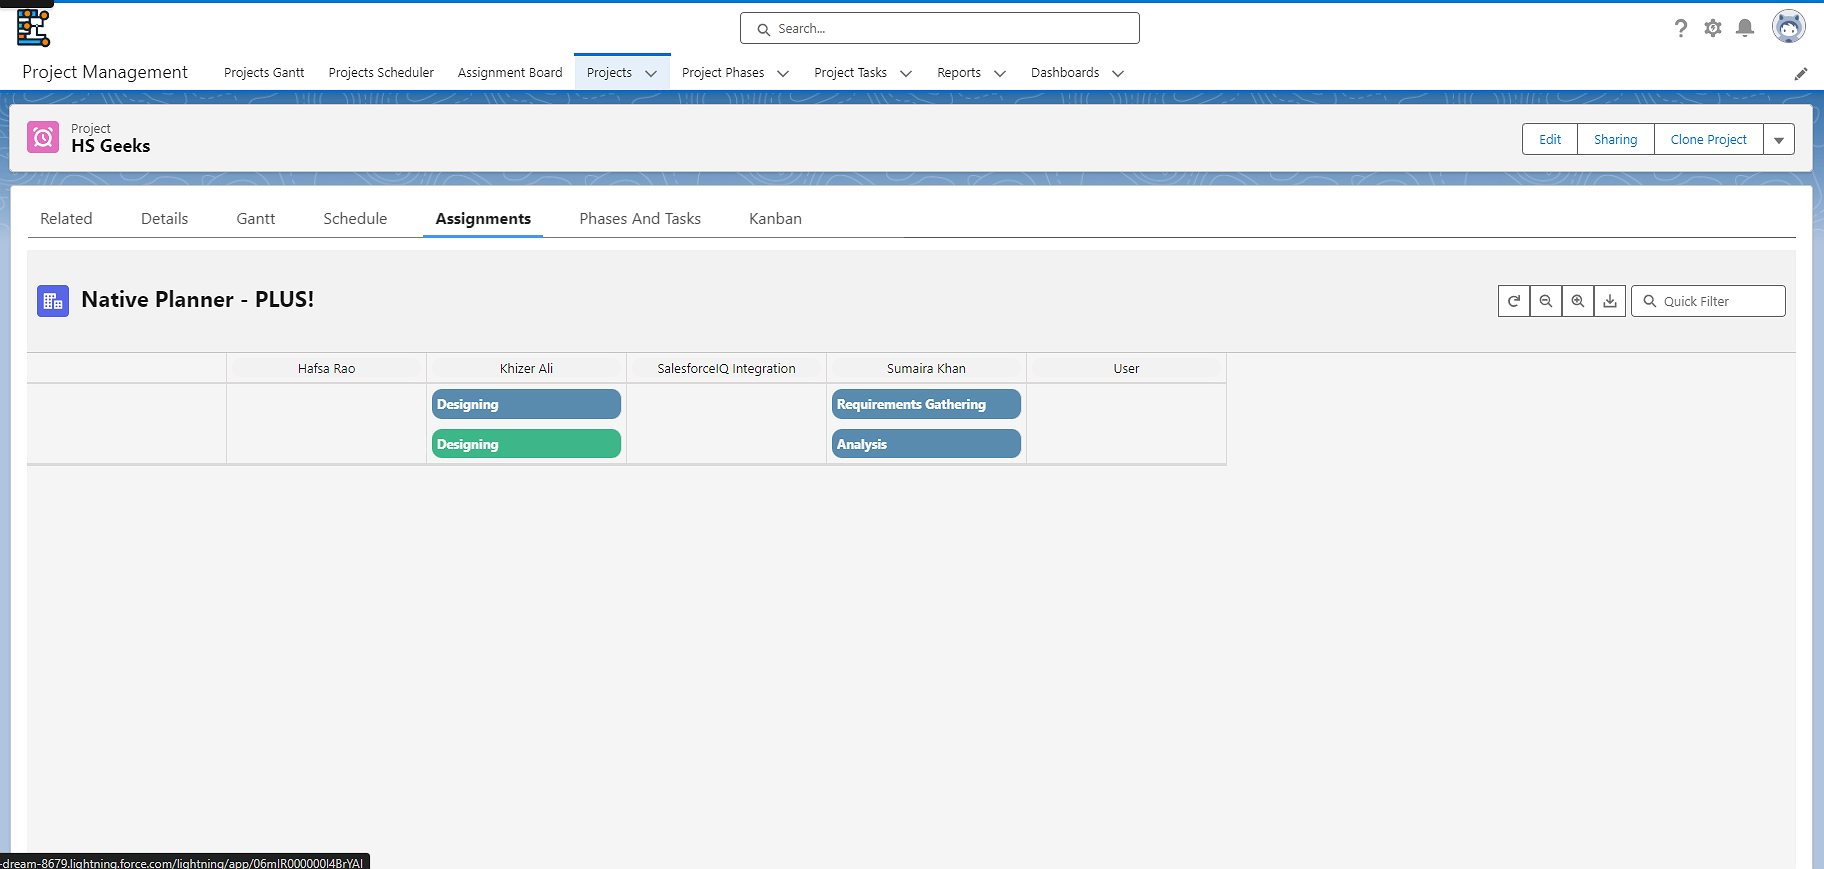
Related Tab:
Shows task history and existing project assignments. You can also add new Project Assignments by clicking the New button.
Details Tab:
Shows the task details and allows you to edit them.

Manage Task Dependencies:
The Native Project allows you to add task dependencies in the form of predecessors and successors.
Predecessor: The task that must be completed before the other task starts.
Successor: The task that will be started after the current task is complete.
To manage task dependencies, go to Project Gantt and look for the required task. Double-click the predecessor or successor and select the link icon:
Now, to connect it to another task, click in the center of the other task.
An arrow will appear showing task dependency.

To remove dependency, double-click on the dependency and click the following icon:
Using Task Lists and Filters:
When you have numerous tasks, they are represented as task lists under the Project Tasks menu.
You can click on any task to expand it.
Also, you can search for a specific task in the list by typing into the search box.
Manage list controls by selecting them.
Change how the list is displayed.
You can edit the list by clicking the Pencil icon on this toolbar or in front of each item.

You can also manage list views from the top. Selecting All will display all the list columns.
Task Filters can be used to display the required tasks only. You can add more filters by clicking the Add Filters link.
