Chapter 3: Project Phases
After creating a project, you need to divide it into different phases or milestones. These phases help in organizing and tracking the progress of the project. Each phase represents a significant stage in the project lifecycle and may contain multiple tasks.
Creating Project Phases:
To create a project phase, navigate to the Project Phases tab and click New.

Fill in the required fields and click Save.

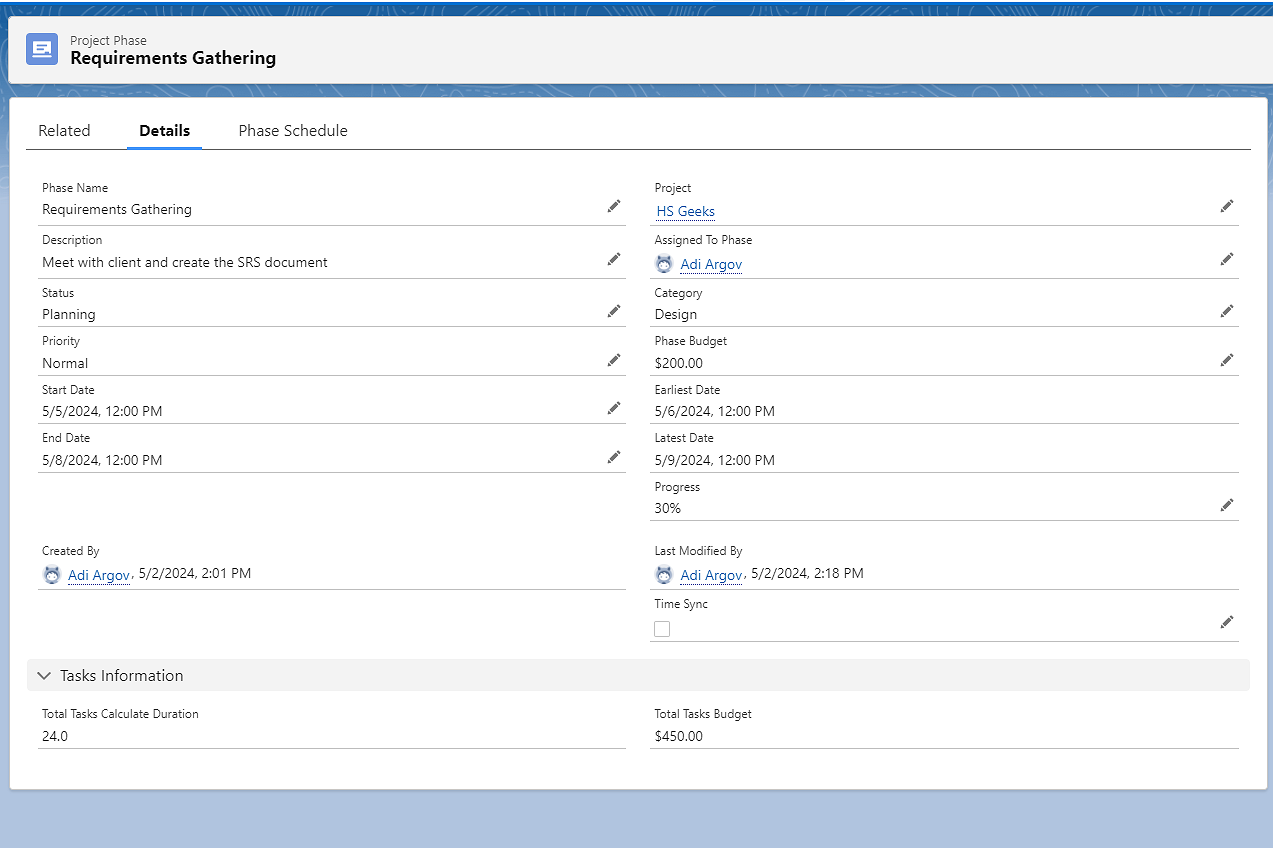
- Phase Name: Enter the name of the phase.
- Description: Provide a brief description of the phase.
- Start Date: Specify the start date of the phase.
- End Date: Specify the end date of the phase.
- Status: Set the status of the phase (e.g., Planned, In Progress, Completed).
- Project: Select the project to which this phase belongs.
Managing Project Phases:
You can view and manage all the project phases from the Project Phases tab. Click on any phase to view its details and make necessary updates.

Linking Phases with Tasks:
Each phase can contain multiple tasks. To link tasks to a phase, go to the Project Tasks tab and assign the tasks to the relevant phase.

Tracking Phase Progress:
You can track the progress of each phase by monitoring the completion status of its associated tasks. Use the Gantt Chart and Kanban Board to visualize the progress.